
Note!
Sales which contain fuel cannot be saved as a Pending Sale.
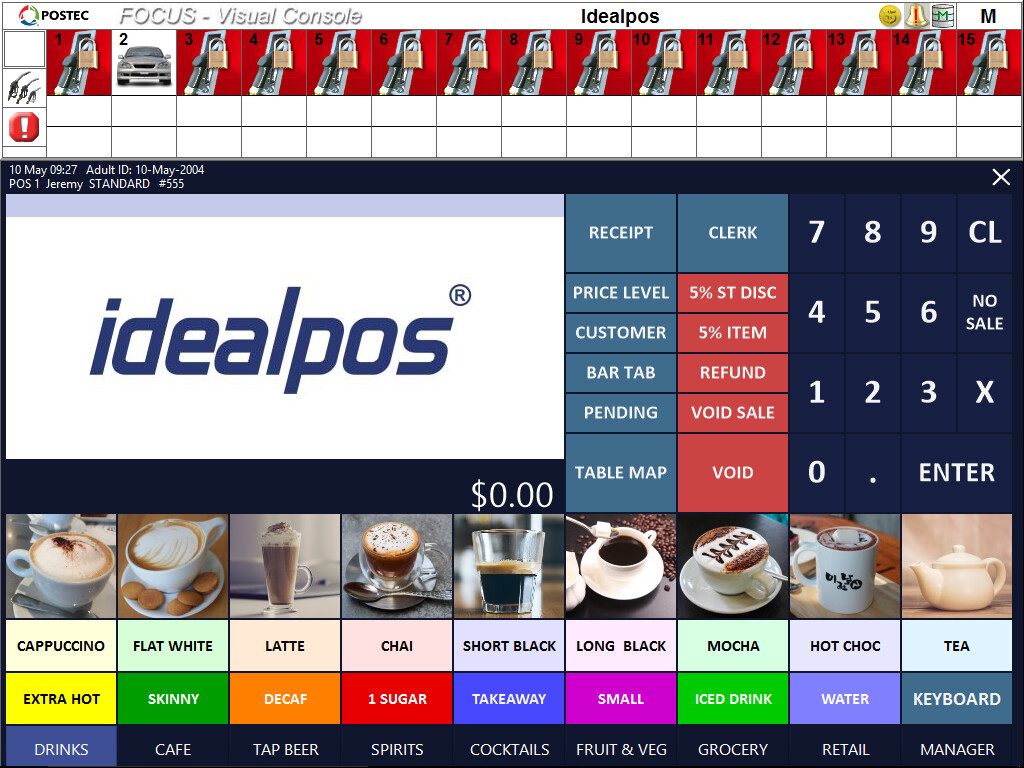
When a customer lifts a nozzle, the Visual Console will change to a Man and then a Car to show you that someone has lifted the nozzle.
The example below shows that the nozzle of Pump 2 has been lifted.
You cannot allow the user to start pumping until a Clerk has been logged into the sale.
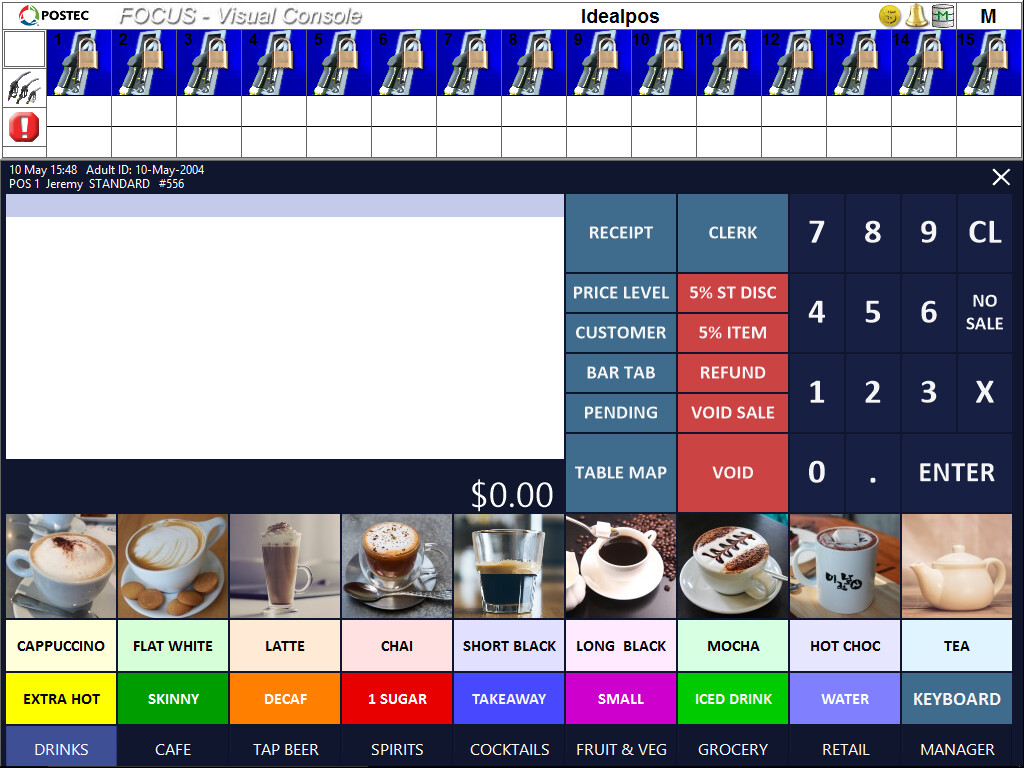
A golden coin will display at the top-right of the Visual Console when a Clerk is logged in.
Depending on the setup used, you can press the pump to allow the customer to start pumping fuel.
Once the customer starts pumping fuel, the dollar amount will start to increase.

Once the customer has put the nozzle back on the pump, the amount will display as ready to be paid, and a cash image will show on that pump.

Press the selected pump to stop the customer or other customers using the pump.
The total will move to the second line to allow for another customer to start using the pump and the icon will be green.

When the customer comes in to pay, press the highlighted field containing the due amount of that pump and the details of the transaction will be added to the sale.
It is possible to now add other pumps to the same sale, or stock items from the store as well.
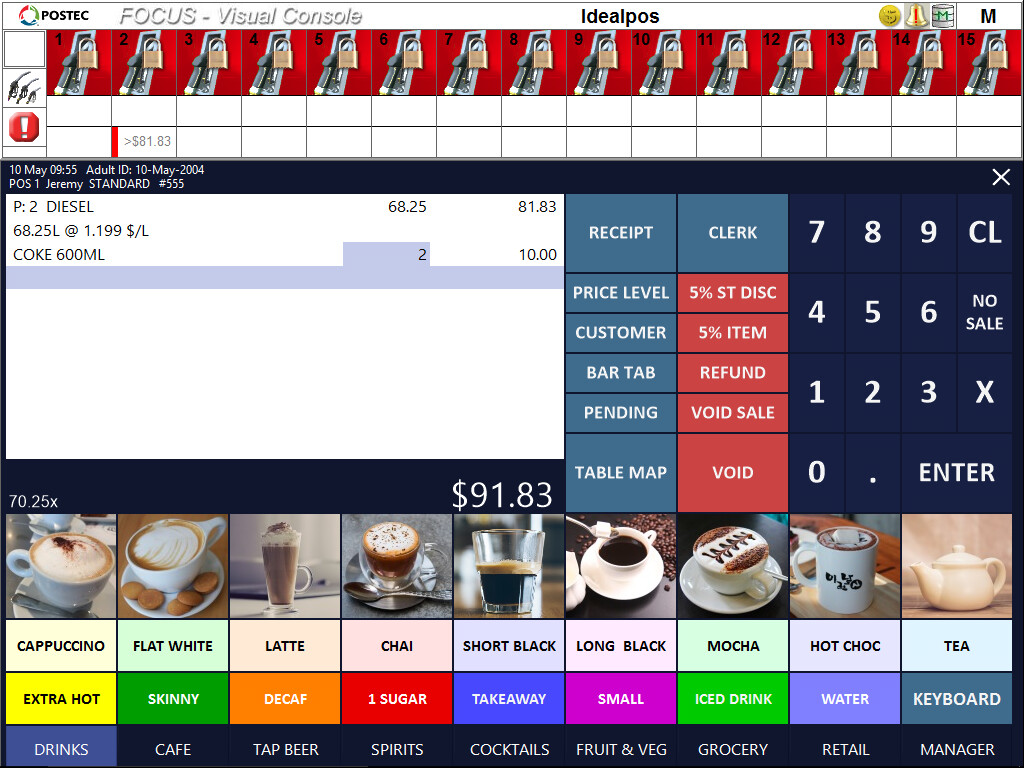
Once the sale has been finalised, the amount shown on the Visual Console will disappear.

This option is used when you want the customer to pay for the fuel before they have used the pump.
Note that a pump must have its Dispenser Mode set to PrePay in order for prepay functionality to be available.
WARNING!
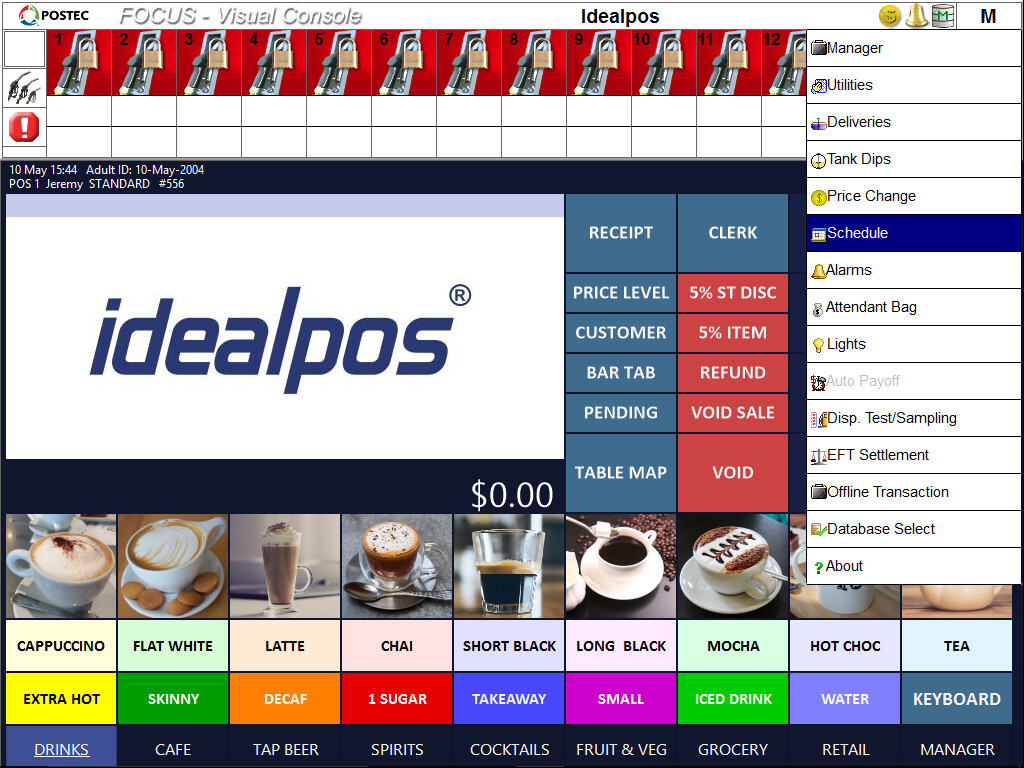
The information regarding Schedules, changing the active schedule and Dispenser Modes is listed below for informational purposes ONLY.
Your operating procedures and configuration may vary.
If you are unsure on what you are doing, DO NOT modify your environment's configuration and DO NOT change the Schedule, as this may have undesired consequences.
The Dispenser Mode is linked to an Operating Schedule (i.e. selecting an Operating Schedule will set all the bowsers to the Dispenser Mode configured for that Operating Schedule).
Pumps that are set to PrePay will be displayed in the Visual Console using a blue background colour (e.g. Red bowsers in Visual Console are standard "AutoHold", whereas the Blue bowsers are "PrePay").
If your current Operating Schedule doesn't have any Pre-Paid bowsers and you aren't sure if any of the other Operating Schedules contain Pre-Paid Bowsers, you can refer to the Dispenser Modes section in the Forecourt Manager topic which outlines the steps to access this function and how to set the Dispenser Mode.
Log in as a Clerk and ensure that the required pumps are set to PrePay (pumps that have a blue background in the Visual Console are set to PrePay).
If there are no pumps that have a blue background, there are either no pumps set to PrePay, or you are currently using an Operating Schedule that doesn't have PrePay pumps enabled.
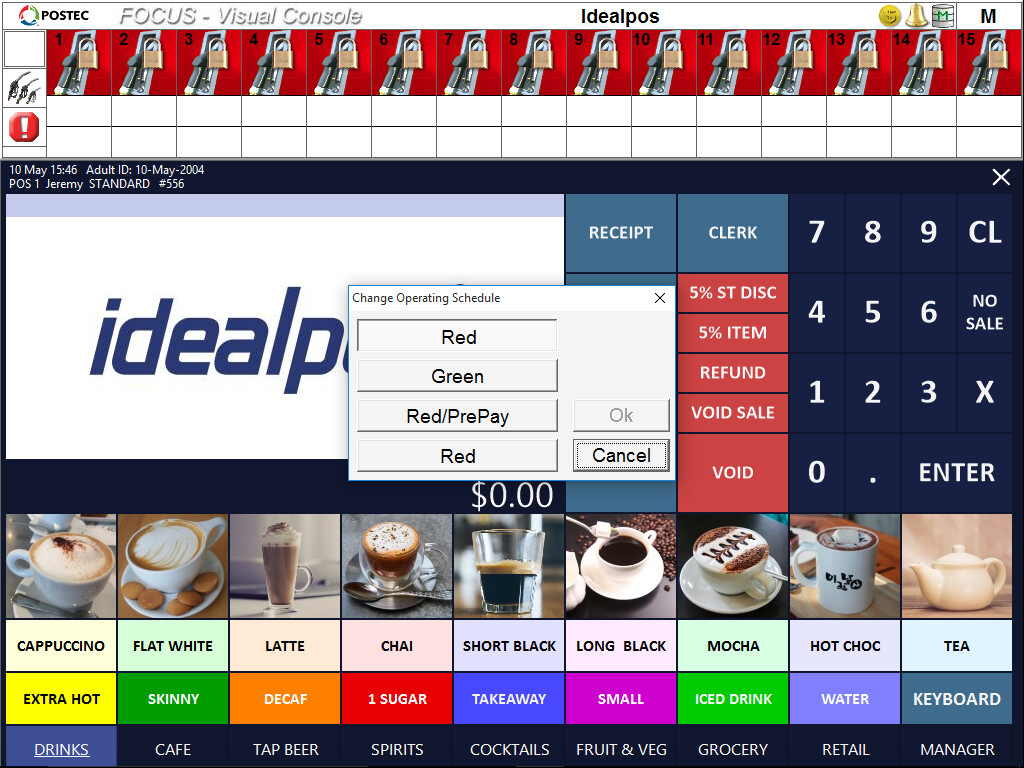
The Operating Schedule can be toggled by pressing the "M" on the top-right corner of the POSTEC Visual Console then selecting "Schedule".
Select the Operating Schedule that has PrePay bowsers enabled then press "OK".
 .
.
The Pre-Paid bowsers will change colour and appear with a blue background, as shown in the example below:
Press the Pre-Paid Pump that the customer will use (i.e. Blue Bowser pumps in the Visual Console).
A Prepay screen will open where you need to enter the amount in dollars ($) the customer wants to purchase.
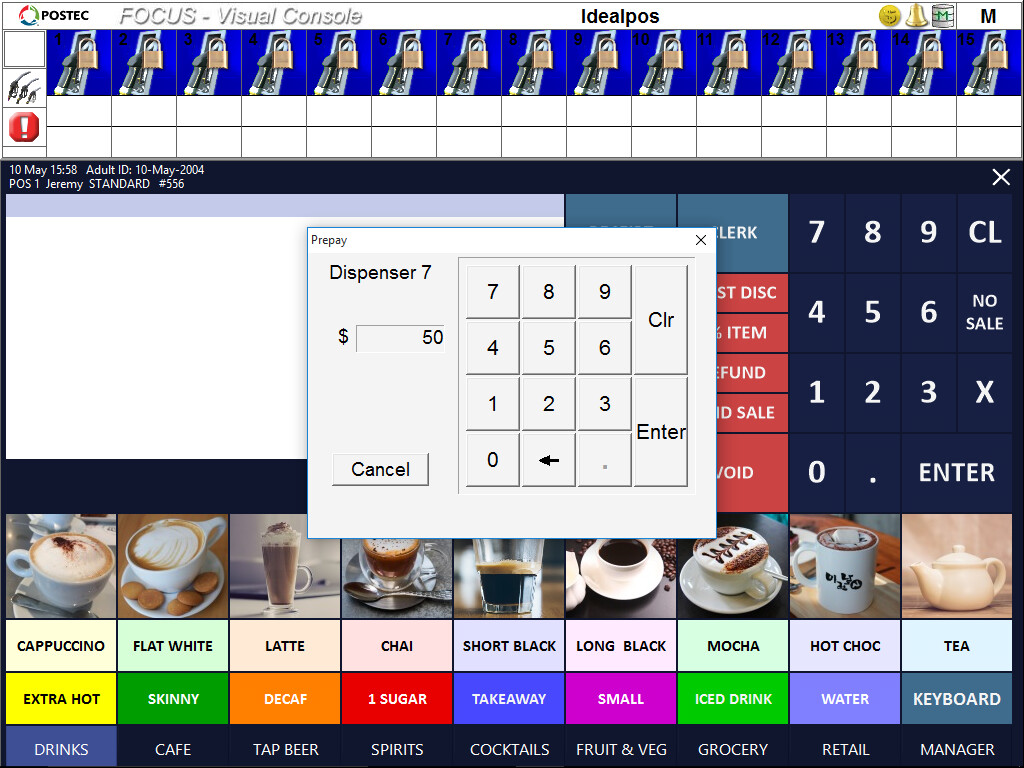
Select the Hose that the customer requires.

Finalise the sale as normal.

The pump will remain as green on the Visual Console and allow only $50 worth of fuel to be dispensed.

Once the customer has replaced the nozzle, the pump will automatically reset ready for the next sale.
